Product


Customizable software to fit your needs! Increases productivity in the field! Please contact NT TOOL for details.
Max Measurement
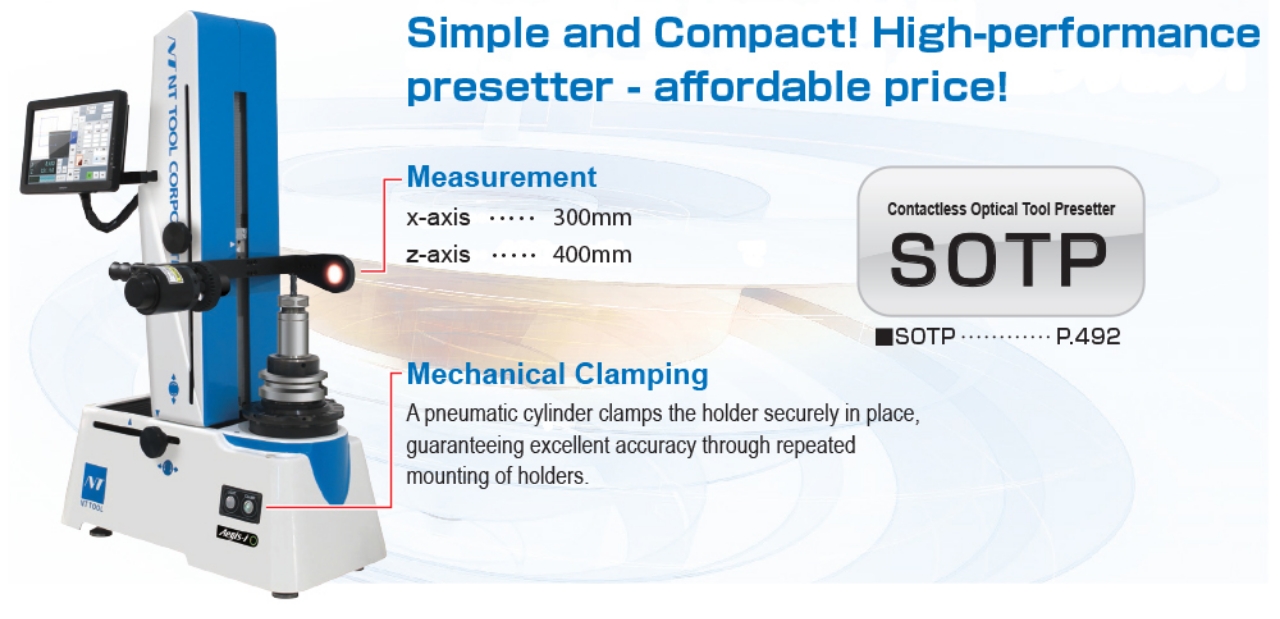
- Contactless measurement does not damage cutting edges.
- Easy operation reduces human error.
- Mechanical clamp system with stable repeatability.
- Tightening of a collet holder is possible on the presetter. ( Up to 60Nm )
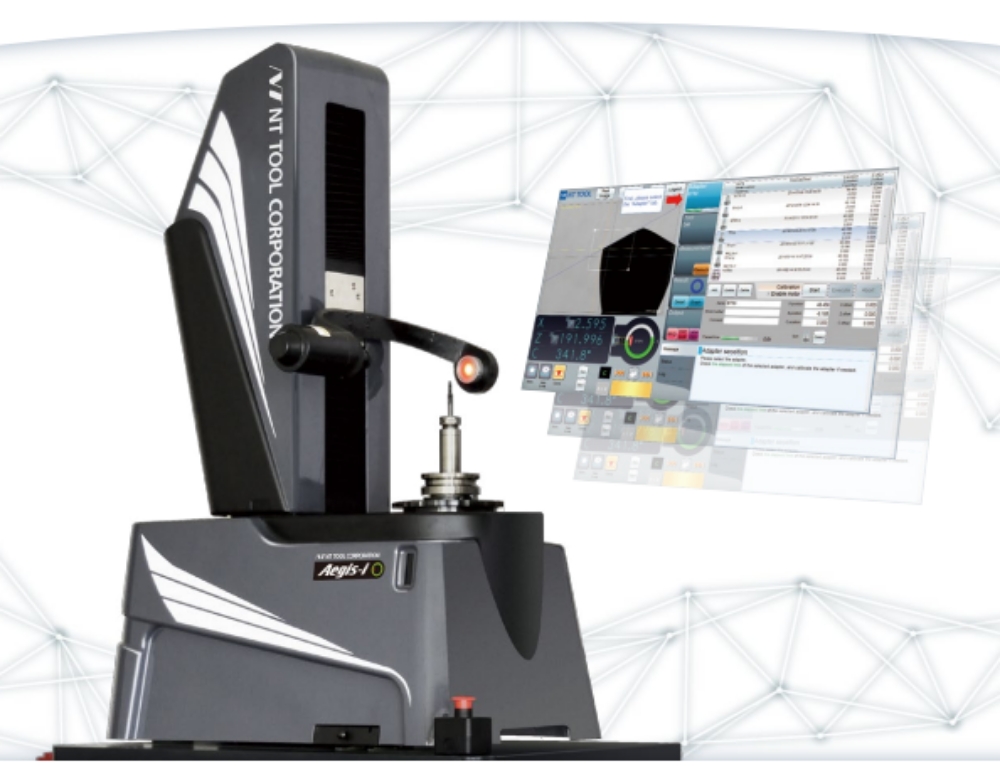
CONTACTLESS OPTICAL TOOL PRESETTER AEGIS-I SERIES

Options
1
Stop Measurement When Runout Exceeds Tolerances
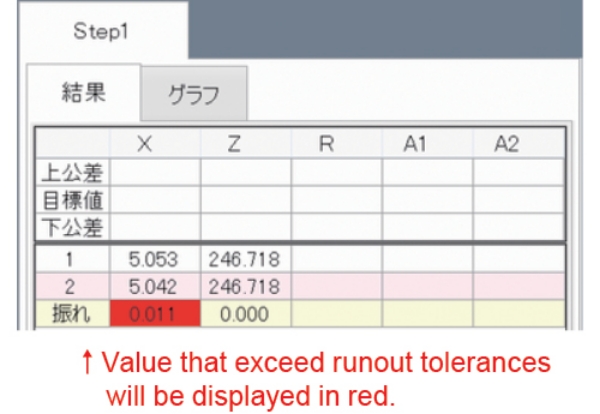
For multi-step measurements, the measurement will stop if runout exceeds the specified tolerances during the runout measurement step. This prevents measurements from running to completion with unacceptable runout.
2
Target Value Input
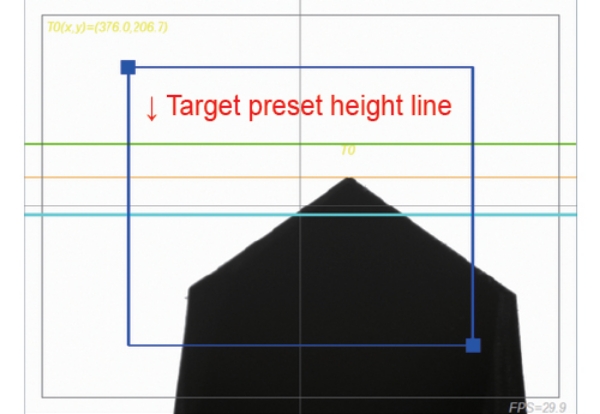
In “Adjustable Mode,” the target preset height is displayed on the screen with a green line. Use to offset for cap compression when using collet holders, etc.
3
Import, Export
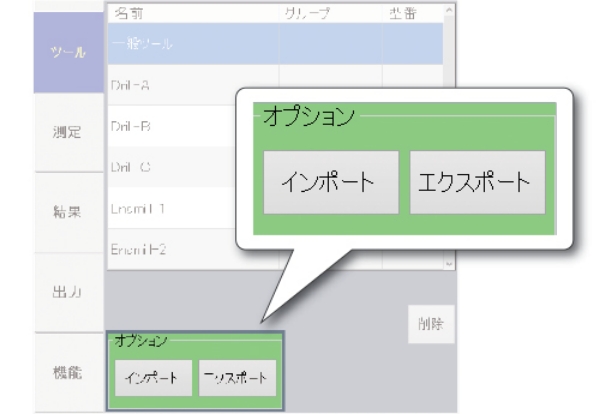
Tool data is imported and exported in the CSV file format. Use to move data to other equipment, or to synchronize tool data between multiple presetters.
4
Switch the X-axis and Z-axis

Switch the Z-axis so it displays radial measurements instead of vertical, and the X-axis so it shows vertical measurements instead of radial. Use when machining with lathes, etc., in a non-standard direction.
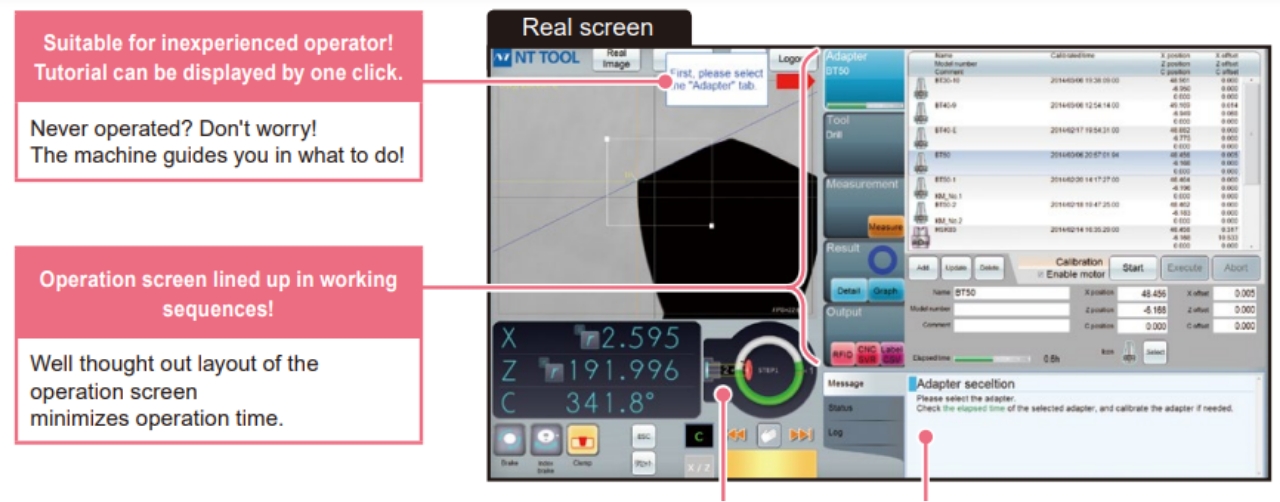
Easy-to-use Software with Tutorial Function
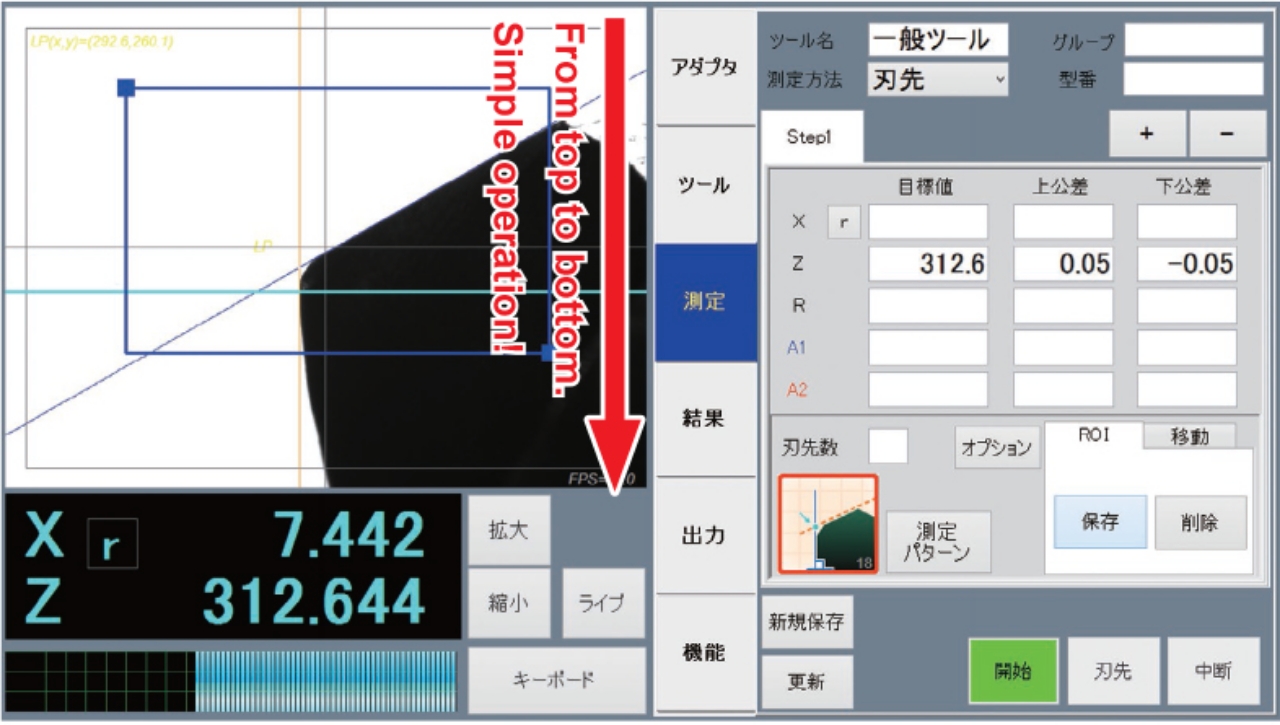
Operation screen lined up in working sequences! Quick operation by switching tabs. Well-thought-out layout of the operation screen minimizes operation time.
Measurement functions
1
Drill Shoulder Measurement
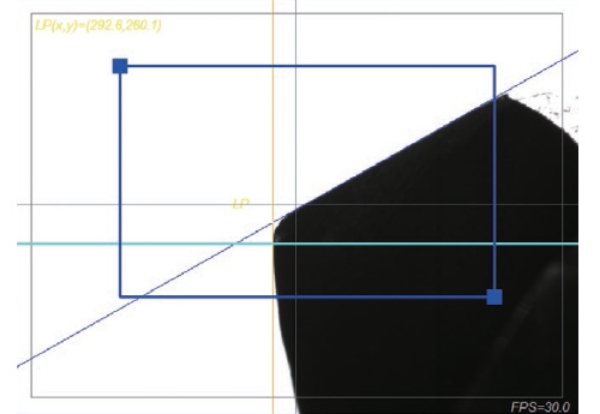
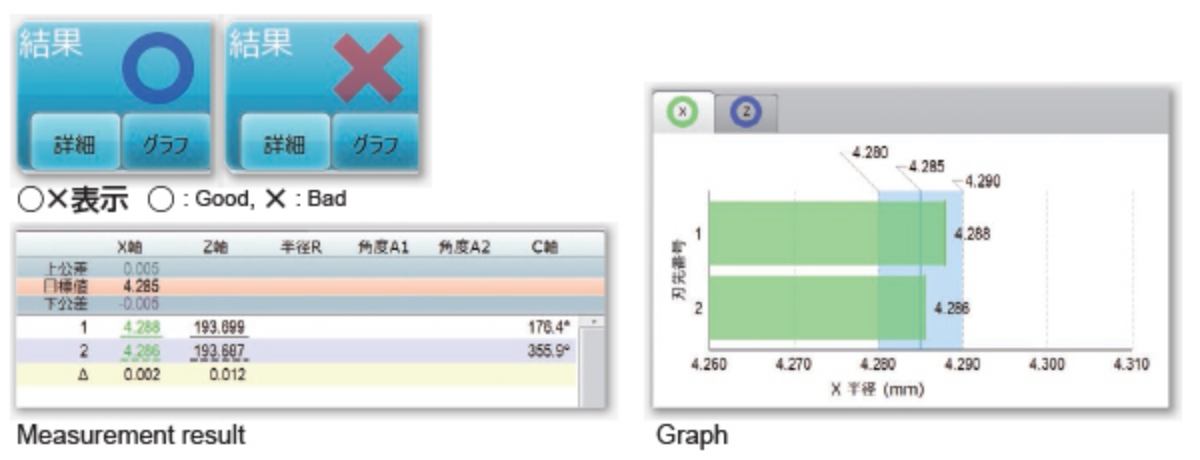
Results that passed or failed to meet the target values can be displayed in a list, or notified with a sound. Results may also be displayed as a graph.
2
Runout Measurement of the Cutting Edge
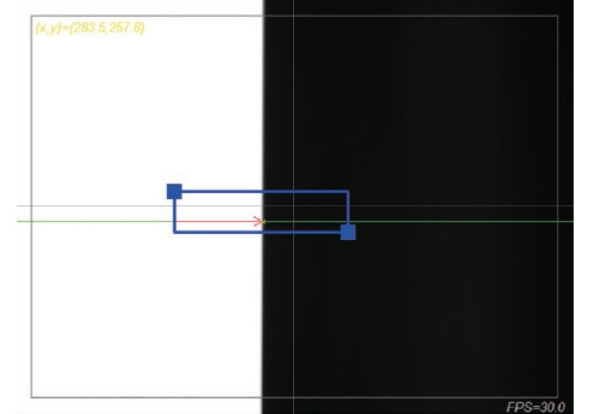
Capture the area you want to measure. Then, turn the spindle 360degrees.
3
Measuring Afterimage
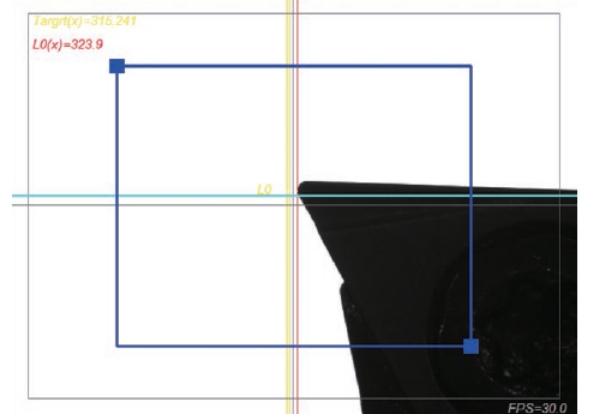
The cutting tool’ s profile is plotted by rotating the spindle 360 degrees.
4
Special Tolerance
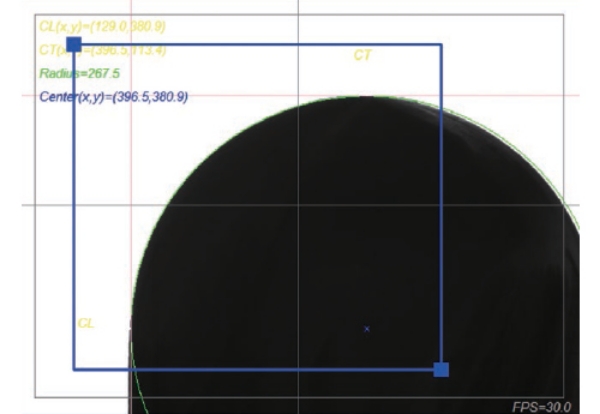
Easy diameter adjustment for boring bars with presetting target shown on the screen.
5
Measuring Step Drill
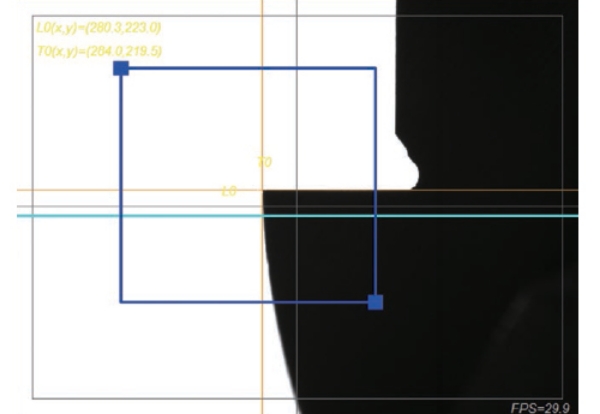
Each step can be measured separately.
6
Real Image of Cutting Edge
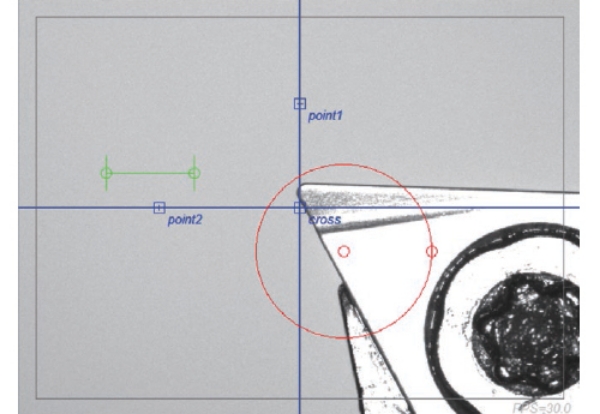
Wearing and chipping on cutting edge can be inspected.
CONTACTLESS OPTICAL TOOL PRESETTER AEGIS-I SERIES

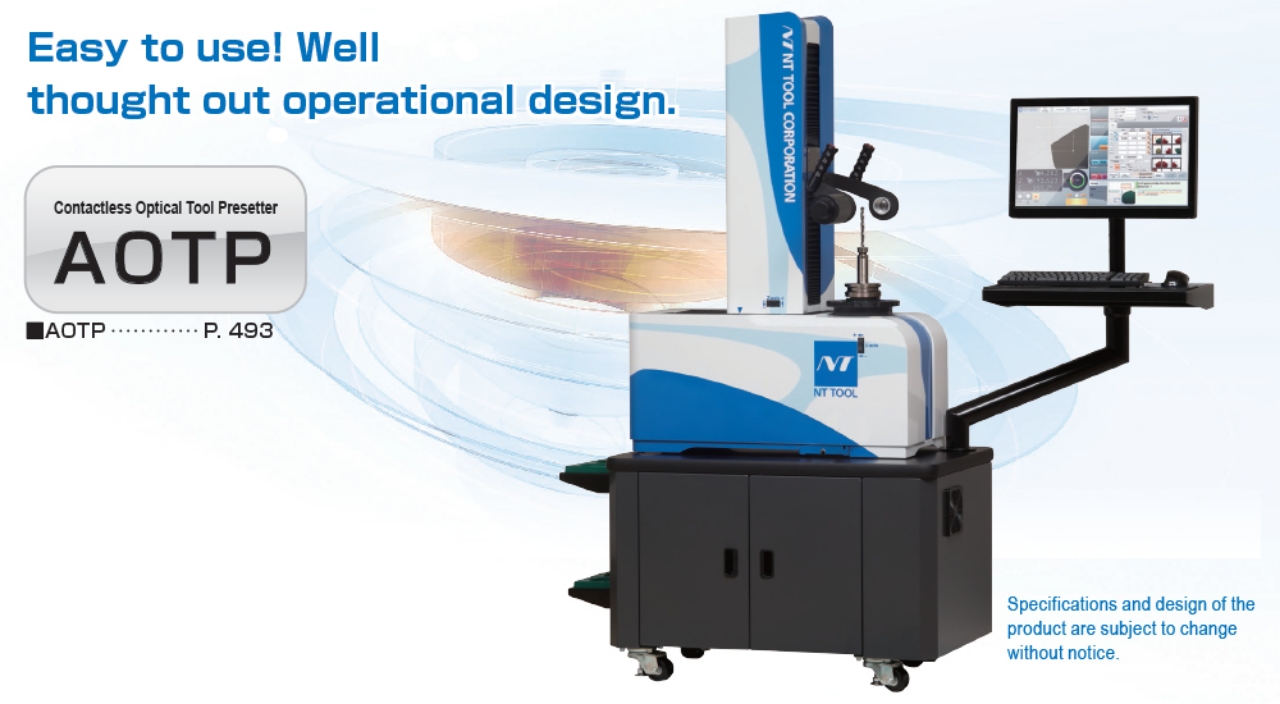
User Friendly Mechanical Body
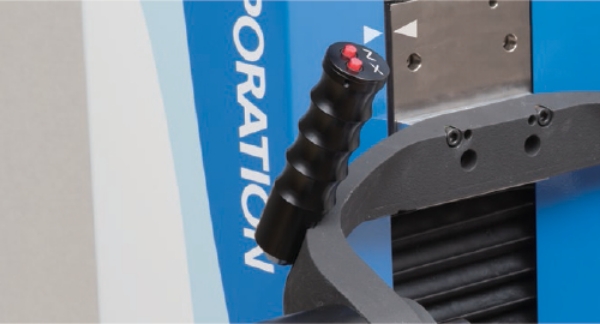
■ Camera Handle
Simple one hand operation. Movable in X-axis direction or Z-axis direction separately/simultaneously.
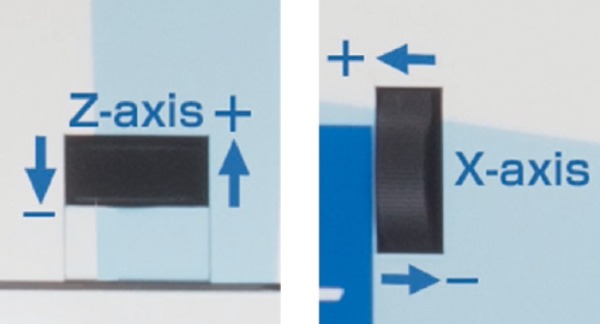
■ Fine Adjustment Dial for Z-axis / X-axis
Quick camera positioning by rotating the dial.
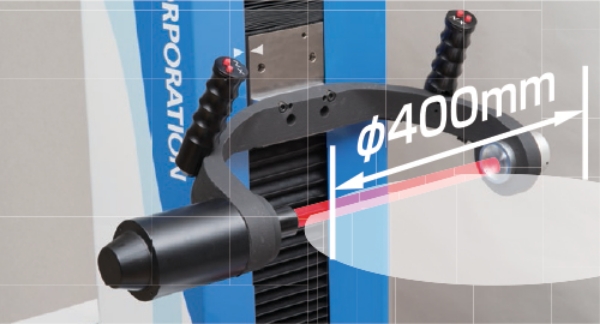
■ Camera Arm
Measurement up to dia.400mm is possible.
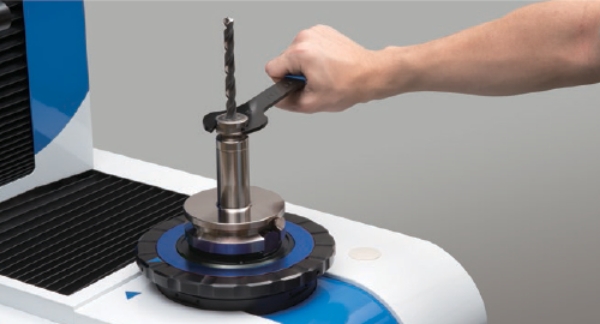
■ Tightening of a collet holder is possible. (Up to 60Nm)
Move away the camera from the spindle when tightening. Adjustment of cutting tool projection length and runout measurement / adjustment can be done in one spot.
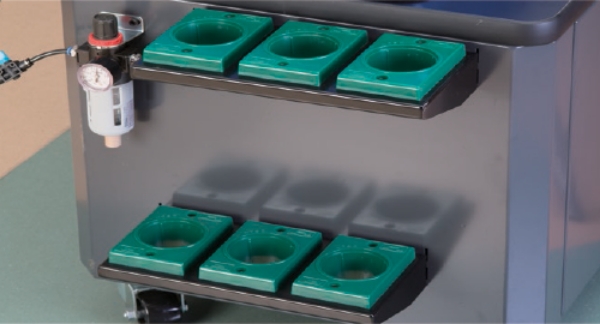
■ Adapter Tray Equipped
Frequently used adapters and holders can be placed nearby.
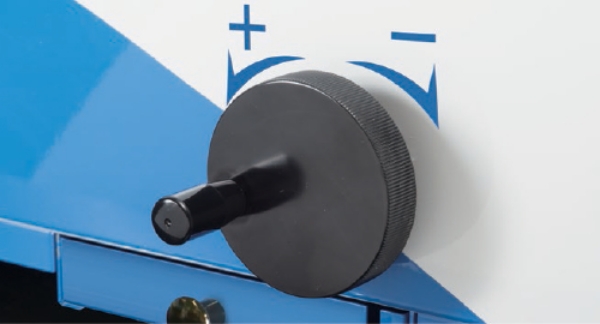
■ Cutting Tool Projection Length Adjustment (Option)
An operation handle for cutting tool projection length adjustment can be added.
■ Mechanical Clamp
400kg air cylinder fi rmly clamps the tool holder. Good repetitive accuracy of tool holder clamping/unclamping.
■ Motor driven spindle
The rotation of the spindle can be automated.
Easy-to-use Software with Tutorial Function.
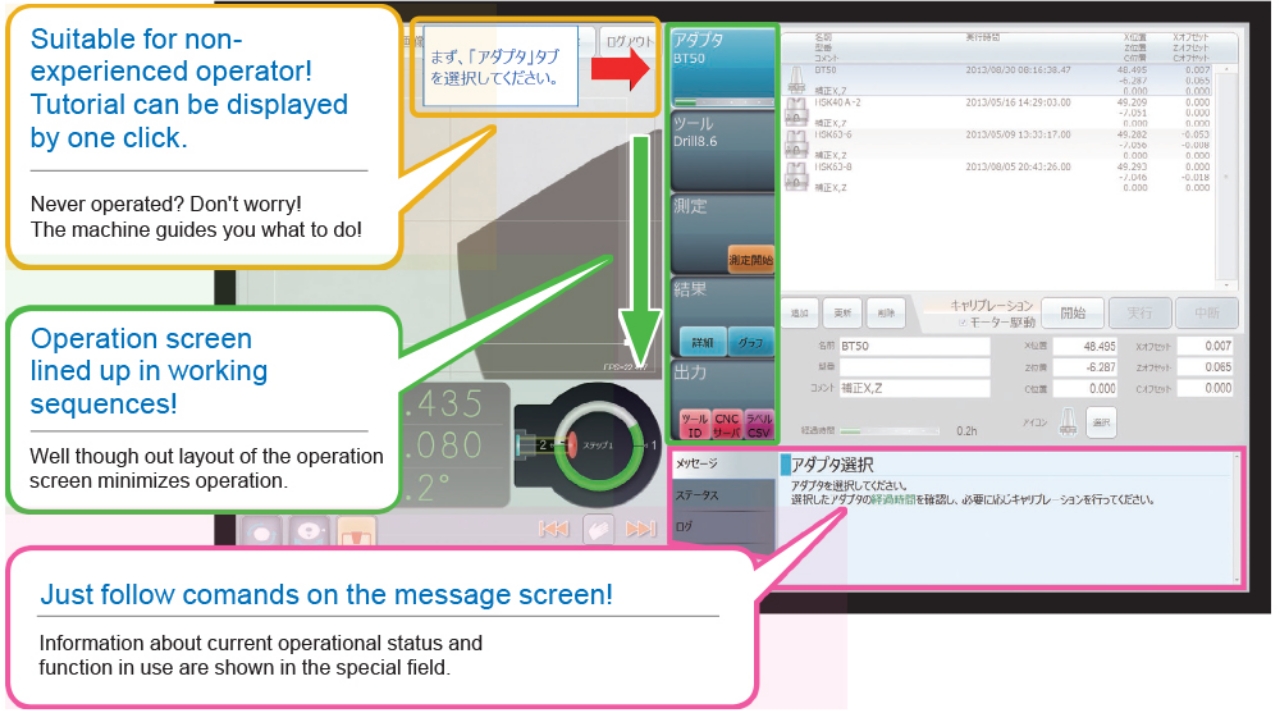
Basic Function
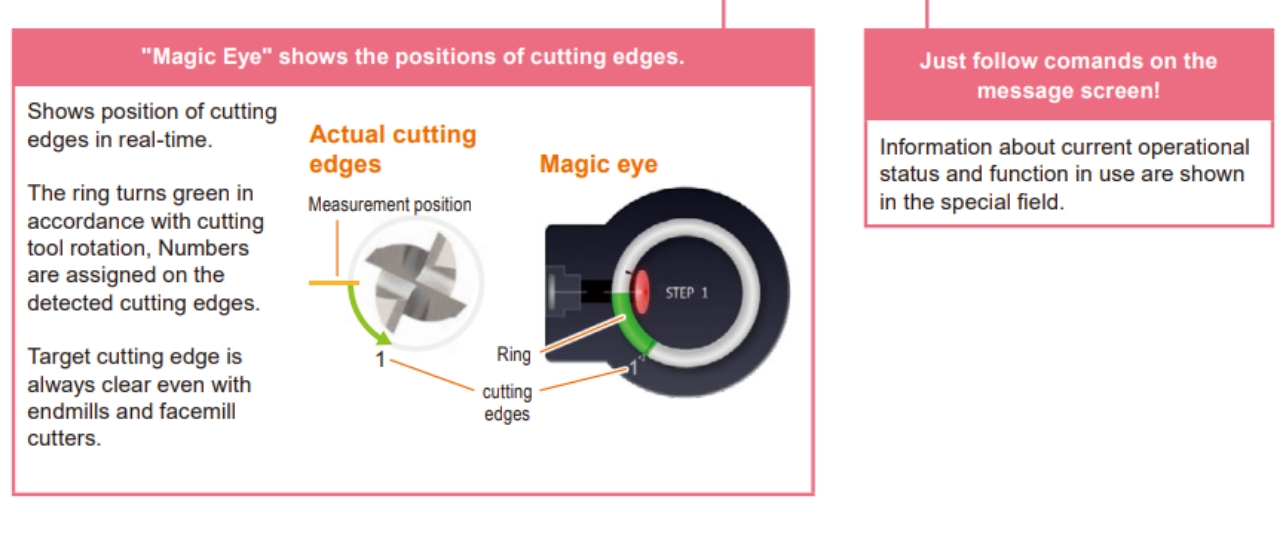
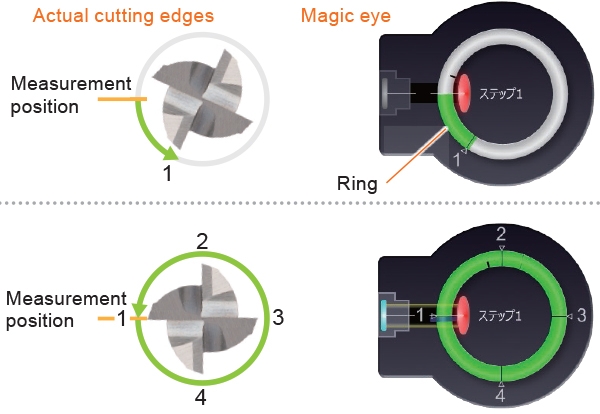
■ “Magic Eye” shows the positions of cutting edges.
Target cutting edge is always clear even with endmills and facemill cutters.
■ Beginning of measurement
The ring turns green in accordance with cutting tool rotation. Numbers are assigned on the detected cutting edges.
■ Detection of cutting edges completed.
Shows position of cutting edges in real-time.
■ Runout measurement of the cutting edge
Capture the area where you want to measure. Then, turn the spindle 360degrees.
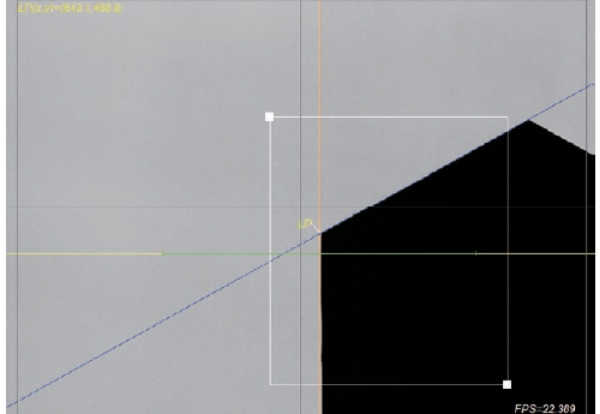
The measurement result against target value can be shown in×along with sound eff ects. The result can be also shown as a graph.
